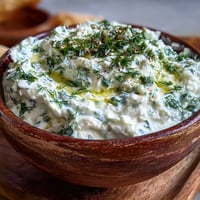
 Pin It
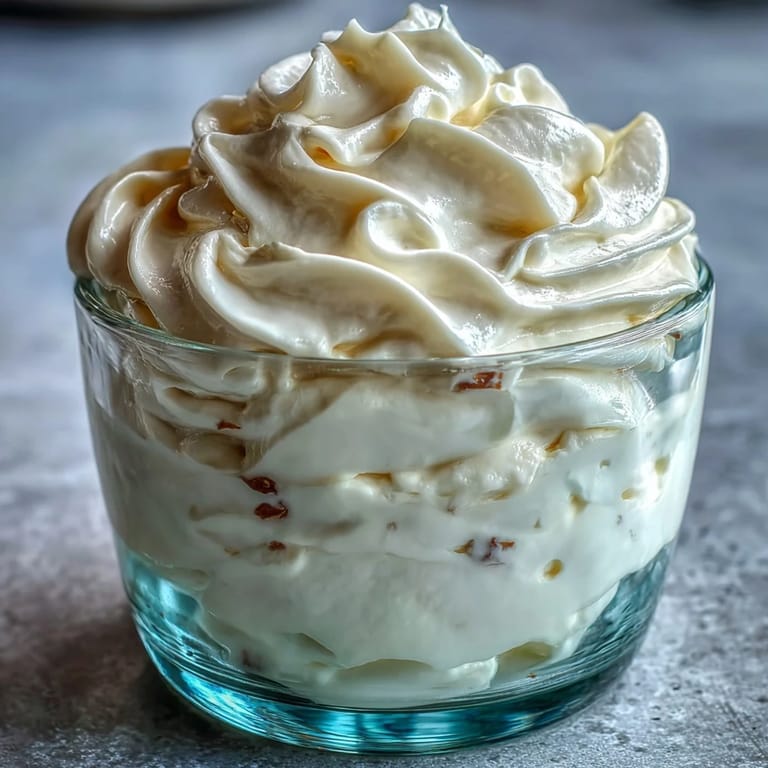
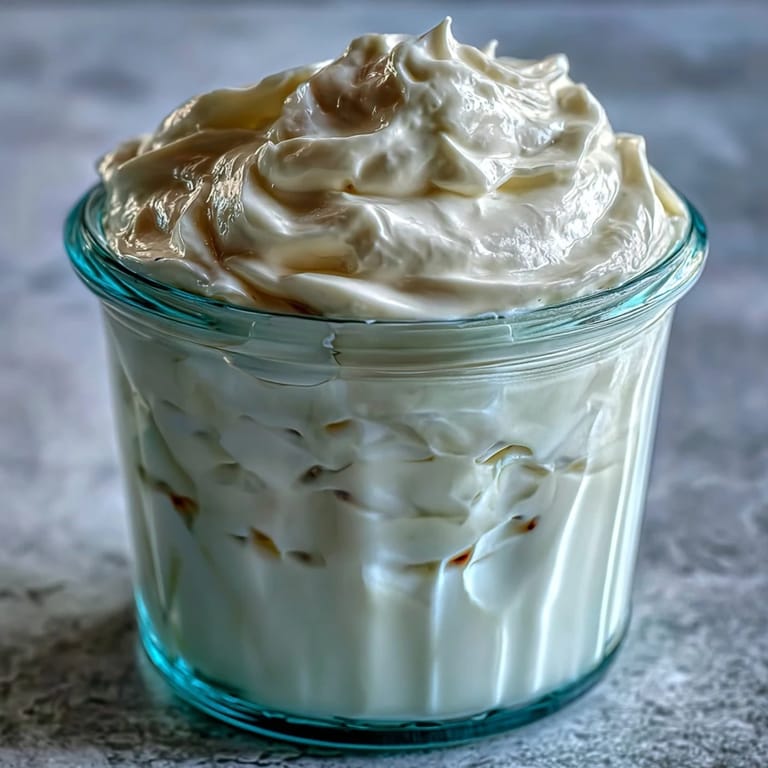
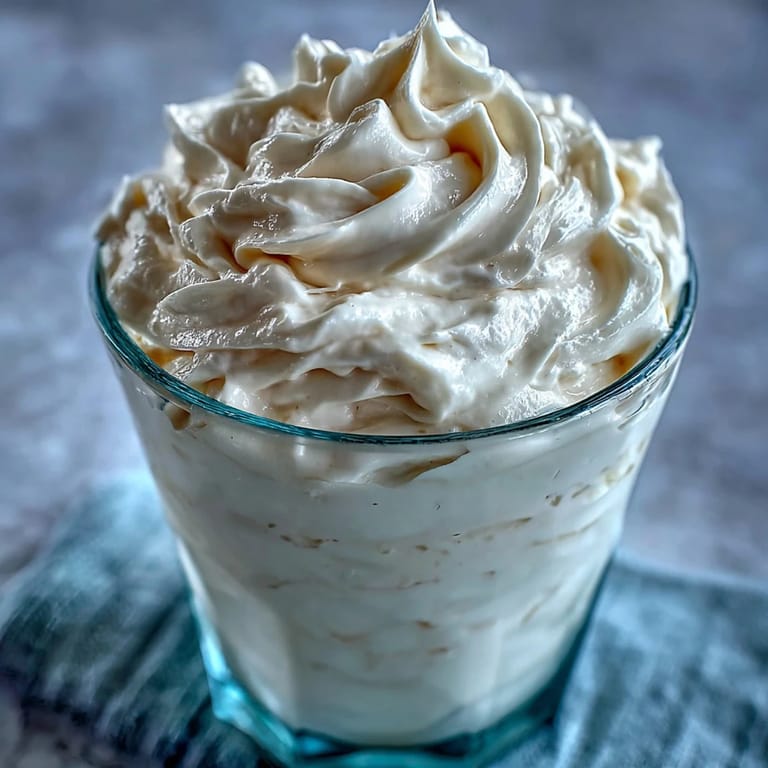
 The first time I realized mayonnaise could actually be whipped up at home was a rainy afternoon when store-bought jars were nowhere to be found in my fridge. The sound of the immersion blender whirring felt oddly satisfying against the quiet, and the surprise of seeing the creamy texture emerge in seconds changed my view of condiments forever. Some days, the kitchen smells faintly tangy from the vinegar, mixing with hints of mustard, and it always feels fresh when I swipe up a dollop for a sandwich. Each batch comes together with a kind of magic—thickening before my eyes as the blender does its work. Homemade mayo never fails to impress when friends taste it, so I love sharing the secret of just how quick and simple it really is.
Making this mayo for my sister after she complained about “boring” sandwiches made a weekday lunch feel special. She watched me work with mild skepticism, but grinned wide at the first taste—now she insists on homemade for every picnic. That moment reminded me how sharing even simple kitchen tricks can spark unexpected joy.
Ingredients
- Egg (1 large, room temperature): Room temp is crucial for proper emulsification—cold eggs resist blending and can cause separation.
- Dijon Mustard (1 tablespoon): Mustard not only adds flavor but acts as an emulsifier, helping everything stay together.
- White Wine Vinegar or Lemon Juice (1 tablespoon): Choose based on your mood—lemon for brightness, vinegar for a mellow edge.
- Neutral Oil (1 cup): Sunflower or canola keeps flavors balanced; olive oil gives a richer but more pronounced taste if you want depth.
- Fine Sea Salt (1/2 teaspoon): A pinch brings out the creaminess without overpowering.
- Freshly Ground Black Pepper (1/4 teaspoon, optional): I add a touch for mild warmth, but it’s completely up to your preference.
Tired of Takeout? 🥡
Get 10 meals you can make faster than delivery arrives. Seriously.
One email. No spam. Unsubscribe anytime.
Instructions
- Set up your ingredients:
- Grab a tall, narrow blending container and measure out the egg, mustard, vinegar or lemon juice, salt, and pepper. It feels oddly calming lining up everything before blending.
- Add the oil:
- Pour the oil directly on top—watch the layers settle before you start, and imagine the creamy potential beneath.
- Blend from the bottom:
- Sink the immersion blender to the very bottom, press start, and listen for the shift as mayo begins to form below.
- Emulsify:
- Hold steady for about 10 seconds, until creamy ribbons start to swirl; the sound changes as it thickens.
- Move the blender:
- Sweep the blender slowly upward, then back down, blending the oil until all is incorporated—this part always feels like magic.
- Taste and tweak:
- Dip a spoon and try it—add more salt, acid, or pepper if you like. Small adjustments make it truly yours.
- Store:
- Scoop into a jar, seal tight, and pop in the fridge. Homemade mayo keeps well for a week—though mine rarely lasts that long.
 Pin It
 Sharing a jar of homemade mayo with friends during a summer barbecue made me realize how a simple condiment could draw genuine compliments. Everybody asked how I did it, and the pride I felt lingered long after the food was gone.
Immersion Blender Tricks That Make It Foolproof
If you don’t have a tall container, I’ve found that a pint-sized mason jar works well in a pinch. The narrow shape is key—it keeps the ingredients close to the blender blade and ensures quick emulsification.
Customize To Your Own Tastes
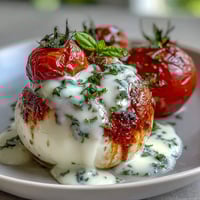
Sometimes I add a splash more lemon juice for extra brightness, or stir in chopped fresh herbs for a zingy finish. For aioli vibes, tossing in a small clove of garlic during blending transforms it instantly.
Batch Storage & Troubleshooting
After a few tries, I learned it’s safer to make smaller batches—large amounts can sometimes split if you rush the blending. If your mayo turns out too thin, blending again with a fresh egg yolk often saves it.
- Store mayo in a clean, airtight jar for freshness.
- Always use pasteurized eggs if concerned about safety.
- Let ingredients reach room temperature before starting for best results.
 Pin It
 Homemade mayo always feels like a quiet victory—creamy, fresh, and yours. Enjoy every swipe, and remember it’s the little kitchen moments that often stick with us the most.
Recipe Questions & Answers
- → What type of oil works best?
Neutral oils like sunflower, canola, or light olive oil create a mild, creamy mayonnaise. Avoid strong-flavored oils for a delicate taste.
- → How can I make the spread tangier?
Add up to 2 teaspoons more vinegar or lemon juice to increase tanginess. Taste and adjust according to your preference.
- → Is it safe to use raw eggs?
If concerned about using raw eggs, opt for pasteurized eggs to minimize any health risks while maintaining creamy texture.
- → Can I add extra flavors?
Blend in ingredients such as garlic, herbs, or spices to customize flavor. For garlicky aioli, add one small clove of garlic.
- → What tools are needed?
An immersion blender, tall blending container, measuring spoons, and jar for storage ensure quick preparation and easy cleanup.
- → How long does it keep in the fridge?
Store in a sealed jar and refrigerate. The spread stays fresh for up to one week; always check for signs of spoilage before use.