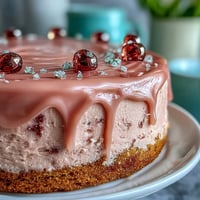
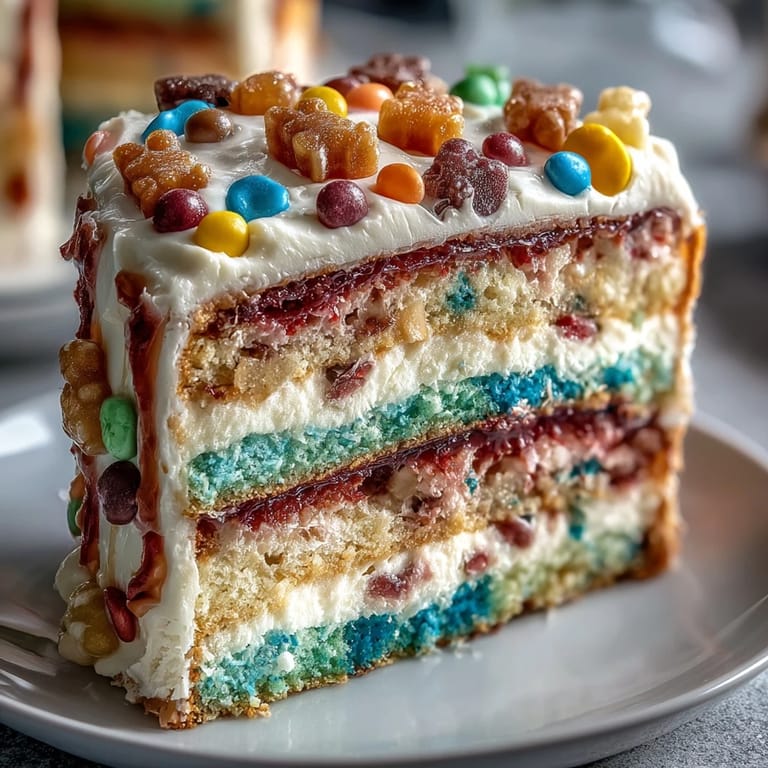
 Pin It
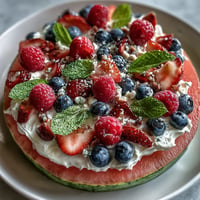
 My neighbor knocked on the door mid-afternoon with her daughter bouncing on her heels, asking if I could help make something special for their Cinco de Mayo block party. Within minutes, we were mixing rainbow batters and the kitchen smelled like vanilla and pure excitement. That's when I realized this wasn't just another cake—it was a vessel for surprise, a moment where food becomes theater. The moment their daughter's face lit up when she saw the cascade of candies tumble out was worth every colored drop of gel and every minute of layering.
I'll never forget the quiet moment before we cut into that first piñata cake at the party—everyone gathered around, phones out, waiting for the candy surprise. My neighbor's daughter had helped me frost it that morning, and she kept the secret perfectly, which honestly felt like the real magic. When we sliced through and that first piece revealed the hidden treasure inside, the whole room erupted. That's when I understood: this cake doesn't just taste good, it tells a story everyone wants to be part of.
Ingredients
- All-purpose flour (3 cups): The foundation that keeps your layers tender and structurally sound for all that stacking and candy-filling you're about to do.
- Baking powder and baking soda (2 ½ tsp and ½ tsp): These work together to lift each layer so they're light enough to showcase those gorgeous colors.
- Unsalted butter (1 cup for cake, 1 ½ cups for frosting): Use room temperature butter—it creams properly and gives you that silky texture that makes frosting feel like silk.
- Granulated sugar (2 cups): Beats with butter into fluffy clouds that trap air for a tender crumb.
- Eggs (4 large, room temperature): They emulsify the batter and add richness that makes every bite taste indulgent.
- Vanilla extract (2 tsp for cake, 2 tsp for frosting): This flavor thread runs through everything and shouldn't be skipped, even if you're tempted.
- Whole milk (1 ¼ cups for cake, ¼ cup for frosting): Room temperature milk incorporates smoothly without shocking the batter.
- Gel food coloring (red, orange, yellow, green, blue, purple): Gel colors don't dilute your batter like liquid colors do, and they give you those jewel-tone rainbow layers that make people gasp.
- Assorted small candies (1 ½ cups): Mini M&Ms, gummy bears, and rainbow sprinkles work best—avoid anything large or chewy that could stick to the filling.
- Powdered sugar (5 cups, sifted): Sift it before measuring to avoid lumpy frosting that fights you during decorating.
Tired of Takeout? 🥡
Get 10 meals you can make faster than delivery arrives. Seriously.
One email. No spam. Unsubscribe anytime.
Instructions
- Set up your stage:
- Preheat your oven to 350°F and grease three 8-inch round pans with a light hand—you want them prepared but not greasy. If you only have one or two pans, that's fine; you'll just bake in batches, and honestly, the wait gives you time to organize your candy stash.
- Build the dry foundation:
- Whisk together flour, baking powder, baking soda, and salt in a medium bowl, making sure there are no lumps hiding in the flour. This step prevents dense layers, so don't skip whisking.
- Cream butter and sugar into clouds:
- Beat softened butter and sugar for about 3 minutes until the mixture is pale, fluffy, and looks like fluffy sand—this is where the magic of aeration happens. You'll actually hear the mixer working differently once it's ready.
- Add eggs one at a time with patience:
- Add each egg individually and beat well after each addition so it fully incorporates rather than sitting in little yellow puddles. The mixture should look slightly curdled between eggs, which is exactly what you want.
- Alternate dry and wet ingredients like a gentle rhythm:
- Start with dry ingredients, then milk, then dry again, always ending with dry to avoid a thin, wimpy batter. Mix only until you see no white streaks—overmixing tightens the crumb.
- Divide and paint your rainbow:
- Divide the batter into six bowls and add a different gel color to each until you have vibrant red, orange, yellow, green, blue, and purple batters. The colors will deepen slightly during baking, so don't be afraid to go bold now.
- Pour and bake with intention:
- Pour each colored batter into its prepared pan, smooth the tops, and bake for 15-18 minutes until a toothpick comes out clean and the edges pull away slightly. Your kitchen will smell like a celebration.
- Cool with patience, not rush:
- Let layers cool in their pans for 10 minutes so they set, then turn them out onto wire racks to cool completely—warm layers will crumble when you cut into them. This cooling step is non-negotiable if you want clean layers.
- Cut the secret chambers:
- Using a 3-inch round cutter, carefully cut a hole in the center of four layers (save your top and bottom layers whole—they're your sealing caps). Push straight down and wiggle gently; forcing it will crack your pretty colors.
- Beat frosting into fluffy perfection:
- Beat softened butter until creamy, then gradually add sifted powdered sugar, milk, vanilla, and salt while beating until the frosting is smooth and holds soft peaks. This frosting should taste slightly sweet and creamy, not grainy.
- Stack with frosting as your glue:
- Place the purple whole layer (your base) on your serving plate, spread a thin frosting layer, then stack the first cut-out layer and frost lightly. Continue stacking all four cut-out layers with frosting between each, creating a tower with a hidden cavity waiting inside.
- Fill the treasure chamber:
- Pour your assorted candies into the center cavity created by all those stacked cut-out layers, filling it generously but not to overflowing. This is the moment where anticipation builds.
- Crown your creation:
- Place the final whole layer (your top) over the candy-filled cavity, sealing in the surprise like you're closing the secret.
- Frost the outside with confidence:
- Generously frost the entire outside and top with remaining frosting, then decorate with colored frosting, sprinkles, or festive decorations—this is your moment to make it Instagram-worthy. Stand back and admire what your hands created.
- Chill before the grand reveal:
- Refrigerate for at least 30 minutes so the frosting sets and the layers firm up, making clean slices possible. Cold cake slices cleaner and looks more impressive on the plate.
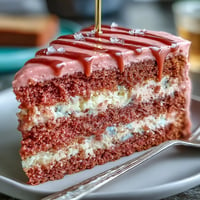
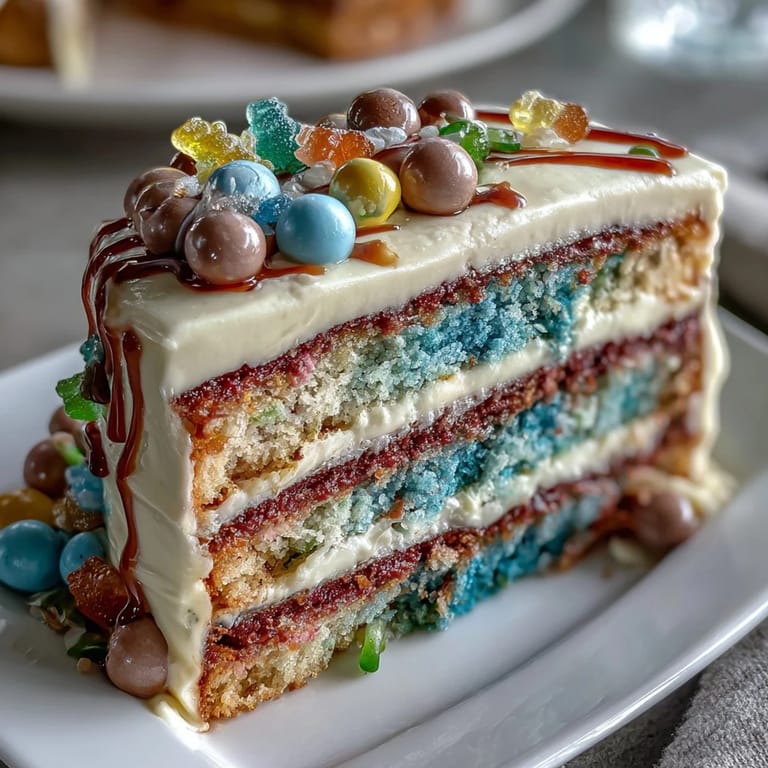
 Pin It
 There's something about watching people lean in close to peek inside a cake before they cut it, whispering to each other about what candies they see, that reminds me why we cook. This cake turned a regular afternoon party into a moment people still talk about months later.
The Science of Color and Crumb
Gel food coloring works differently than liquid coloring because it's concentrated pigment without the water content. When you use liquid food coloring, you're adding moisture that gets counted as part of your liquid measurements, which can throw off your ratios and create a denser, heavier cake. I learned this the hard way with my first batch, which came out looking gorgeous but tasted slightly off because I'd used regular liquid coloring. The cake layers should be light and fluffy enough that they don't compress under the weight of frosting and neighboring layers, and gel coloring preserves that tender crumb texture that makes each bite memorable.
Timing and Temperature Matter More Than You Think
Baking is honestly just chemistry following rules, and those rules exist for real reasons. Room temperature ingredients emulsify properly, which means your butter and eggs actually blend into one cohesive mixture instead of separating or staying chunky. Cold ingredients straight from the fridge won't incorporate smoothly, and you'll end up with a batter that feels grainy or streaky even after beating it for what feels like forever. I discovered this when I tried to rush through a batch using cold eggs and milk, thinking the mixer would just work harder—the result was a cake that tasted fine but had a slightly denser crumb. Now I pull everything out 30 minutes before I start, and the difference in texture is immediately noticeable.
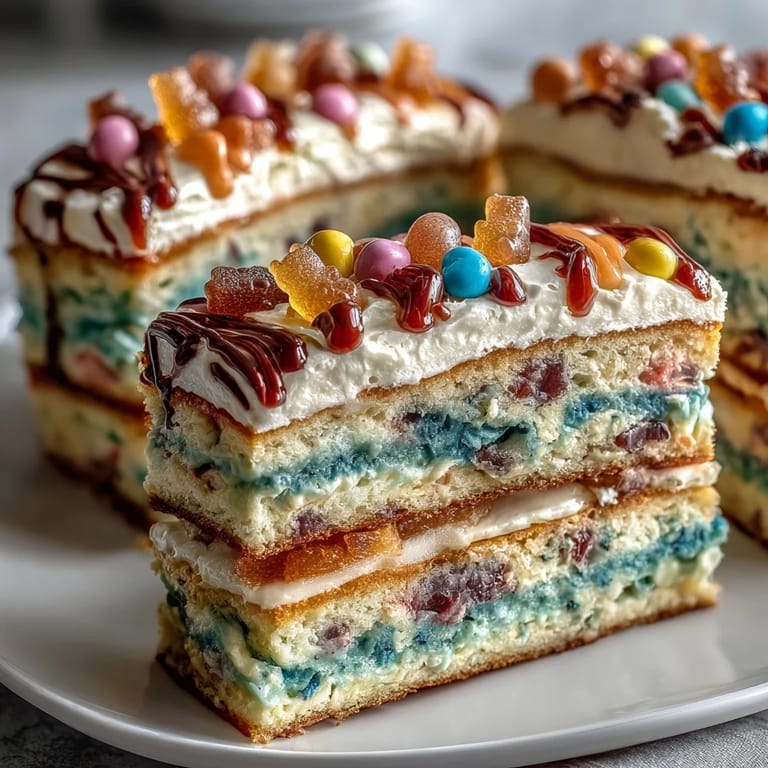
The Surprise Inside Requires Thoughtful Planning
The piñata effect only works if you choose candies carefully and fill the chamber intentionally. Sticky candies like gummies can adhere to the frosting or each other, creating a clumpy mess instead of a cascade. Hard candies and chocolate pieces are your friends here because they tumble cleanly when someone slices into the cake. The first time I made this, I overfilled the cavity and candies started leaking out the sides when I stacked the top layer—now I fill it three-quarters full and let them settle naturally.
- Mini M&Ms and M&M shells don't stick and create that satisfying crunch inside the fluffy cake.
- Avoid anything larger than your pinky nail or anything sticky, as these will cause structural problems or won't tumble dramatically.
- Fill the cavity while the frosting is fresh enough to hold everything in place but firm enough to support the top layer without squishing.
 Pin It
 This cake proves that the most memorable moments in the kitchen happen when you're willing to be a little bold, stack things high, and hide surprises for the people you care about. Every slice tells the story of the celebration that made it special.
Recipe Questions & Answers
- → How are the colorful layers created?
The batter is divided into six portions, each tinted with different gel food coloring to achieve vibrant red, orange, yellow, green, blue, and purple layers.
- → What types of candies work best for the filling?
Small, assorted candies like mini M&Ms, sprinkles, and gummy bears work well, offering a colorful, non-sticky surprise inside.
- → How should I prepare the cake pans for baking?
Grease and line three 8-inch round pans. If fewer pans are available, bake layers in batches, ensuring even thickness.
- → Why chill the cake before slicing?
Chilling firms the frosting and cake, making neat slices easier and preserving the candy center’s shape.
- → Can this cake be adapted for gluten-free diets?
Yes, substitute all-purpose flour with a 1:1 gluten-free flour blend to maintain texture and structure.