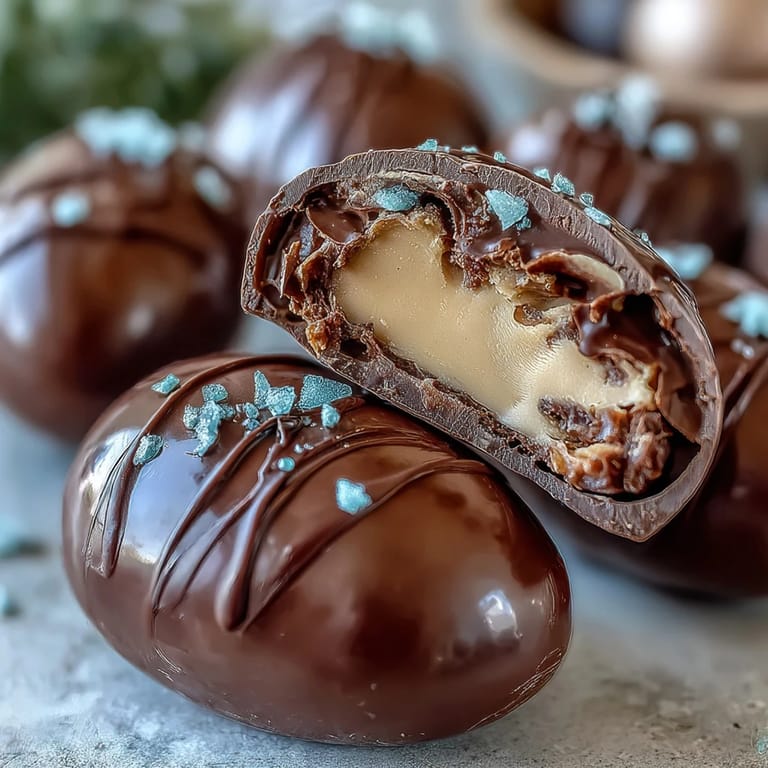
 Pin It
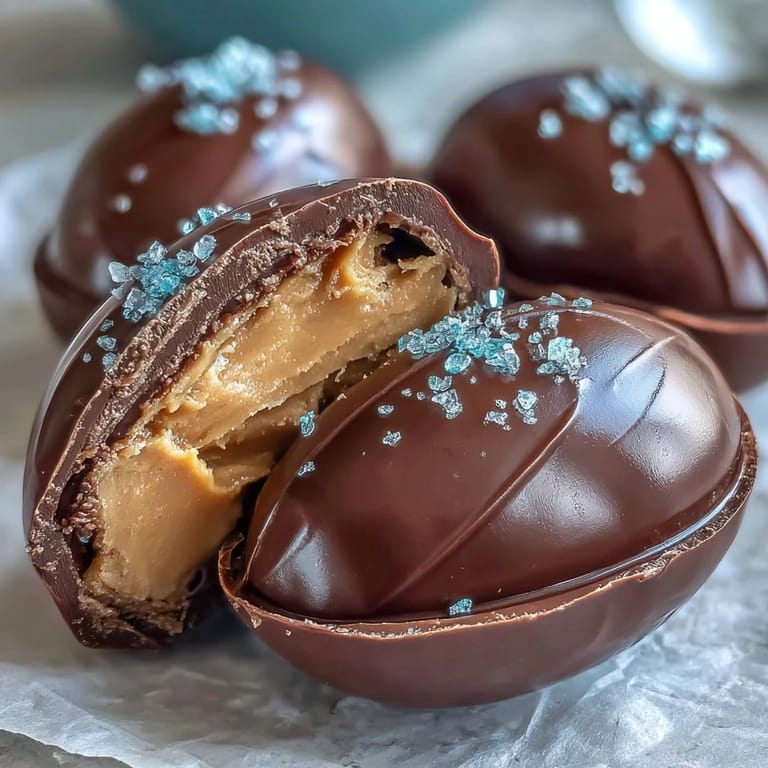
 The peanut butter aroma always hits first: thick, nutty, and inviting. My kitchen on spring mornings tends to feel playful, especially when I tackle Homemade Peanut Butter Easter Eggs. Last year, I tried molding a few with my niece—it was messy, but her laughter echoed louder than any mixer. Chocolate chips scattered everywhere, and our fingertips were sticky for hours. These homemade treats carry that delightful sense of Easter anticipation, no fancy baskets required.
It&aposs hard to forget the first batch I brought to a family gathering—everyone circled the kitchen, eyes wide, waiting for the chocolate to set. My cousin tried sneaking an egg before they were chilled, leaving a tell-tale fingerprint on the glossy coating. We all laughed and realized these eggs, homemade and imperfect, were destined to disappear faster than any store-bought Easter candy.
Ingredients
- Creamy peanut butter: Smooth peanut butter gives that classic melt-in-your-mouth center; I always double check for the unsweetened kind to balance flavors.
- Unsalted butter, softened: Soft butter blends easily and helps prevent lumps—letting it sit at room temperature really makes mixing easier.
- Powdered sugar: This is what turns the filling into a sturdy dough, and sifting avoids any stubborn clumps.
- Vanilla extract: A splash deepens the nutty notes—try to use pure vanilla for the best aroma.
- Salt: Just a pinch counters the sweetness and sharpens the peanut flavor.
- Semisweet or milk chocolate chips: Choose your favorite; semisweet gives balance, milk is creamy and nostalgic.
- Coconut oil or vegetable shortening: This trick makes the chocolate coating shiny and snappy once set.
- Sprinkles or colored candy melts: Optional but fun—my niece loves adding sprinkles for bursts of color.
Tired of Takeout? 🥡
Get 10 meals you can make faster than delivery arrives. Seriously.
One email. No spam. Unsubscribe anytime.
Instructions
- Make the peanut butter filling:
- Grab your biggest mixing bowl and beat together peanut butter, softened butter, vanilla, and salt—the scent alone gets your mouth watering. It turns creamy fast and looks like peanut gold.
- Add powdered sugar:
- Sift powdered sugar in gradually, watching as the mixture transforms from silky to doughy—if it&aposs sticky, add a spoonful more until forming is easy.
- Shape into eggs:
- Scoop heaping tablespoons and roll gently into egg shapes with your palms; don&apost worry if they&aposre not perfect, it just feels homier.
- Freeze for firmness:
- Line them up on parchment and pop the tray in the freezer—thirty minutes makes all the difference for a clean dip.
- Melt the chocolate:
- Microwave chocolate chips and coconut oil in bursts, stirring between—smooth, warm chocolate is magic when you finally dip.
- Dip the eggs:
- Use a fork to lower each frozen egg into the chocolate, letting excess drip off; place back on parchment with care.
- Add decorations:
- If you love color, sprinkle candy melts or festive sprinkles before the chocolate sets—this part always brings out creativity.
- Chill to set:
- Refrigerate finished eggs for fifteen minutes, until they&aposre cool and the coating firms up beautifully.
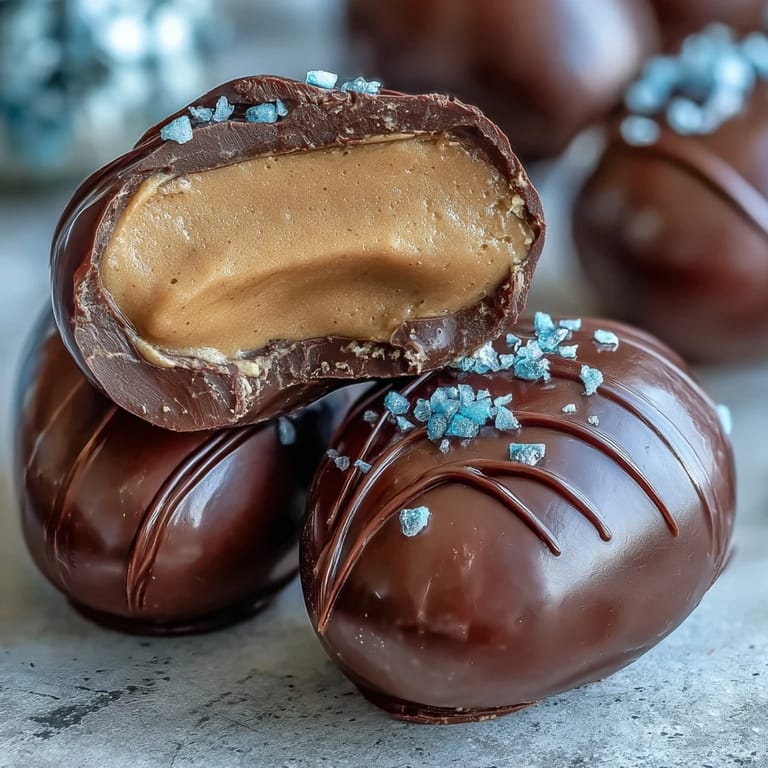
 Pin It
 One spring afternoon, my best friend stopped by just as I was finishing these eggs—unexpected timing, but sharing them over tea felt special. We both agreed that the homemade touch makes each batch uniquely memorable, even if the chocolate isn&apost perfectly smooth.
Chocolate Dipping Without Stress
Bracing yourself for a little mess helps—chocolate drips, hands get coated, and that&aposs part of the fun. I keep an extra piece of parchment nearby for any smudged eggs, and don&apost sweat small imperfections. Working in batches means you can dip a few at a time while the rest stay cold and firm. If the chocolate thickens as you go, a blast in the microwave returns it to prime dipping consistency.
Storage and Make-Ahead Tips
Once the eggs are set, I smooth them into an airtight container with wax paper between layers to prevent sticking. They stay fresh and delicious for up to two weeks in the fridge, so I often prepare them ahead for gatherings. Bringing them out cold keeps the chocolate crisp and the filling cool; my family loves grabbing them straight from the fridge.
Customization: Make Each Egg Your Own
Switching up the chocolate gives surprising results: dark for grown-up richness or white for sweet contrast. Crunchy peanut butter makes the filling textured and fun, while decorations top off each egg with personality. My favorite trick is mixing a pinch of sea salt into the chocolate before melting—it makes the coating even more addictive.
- If you use candy melts, microwave in short bursts to avoid burning.
- Sprinkles stick best when applied right after dipping.
- Don&apost rush the chilling step—it ensures the chocolate stays set.
 Pin It
 Sharing these peanut butter eggs turns any spring day into an occasion. The smiles are as sweet as the chocolate shell, and I can never resist saving one extra for myself.
Recipe Questions & Answers
- → What type of peanut butter is best?
Creamy peanut butter creates a smooth filling, but crunchy can add texture for variation.
- → Do the eggs need to chill before dipping?
Yes, freezing the shaped eggs helps them stay firm during chocolate dipping.
- → Can I use dark or white chocolate?
Both dark and white chocolate work well for coating, offering flavor and color variety.
- → How should the treats be stored?
Store in an airtight container in the refrigerator for up to two weeks to maintain freshness.
- → What tools are required?
You’ll need mixing bowls, a baking sheet, parchment paper, and a microwave-safe bowl for melting chocolate.
- → Are these suitable for vegetarians?
Yes, all ingredients used are vegetarian-friendly.