 Pin It
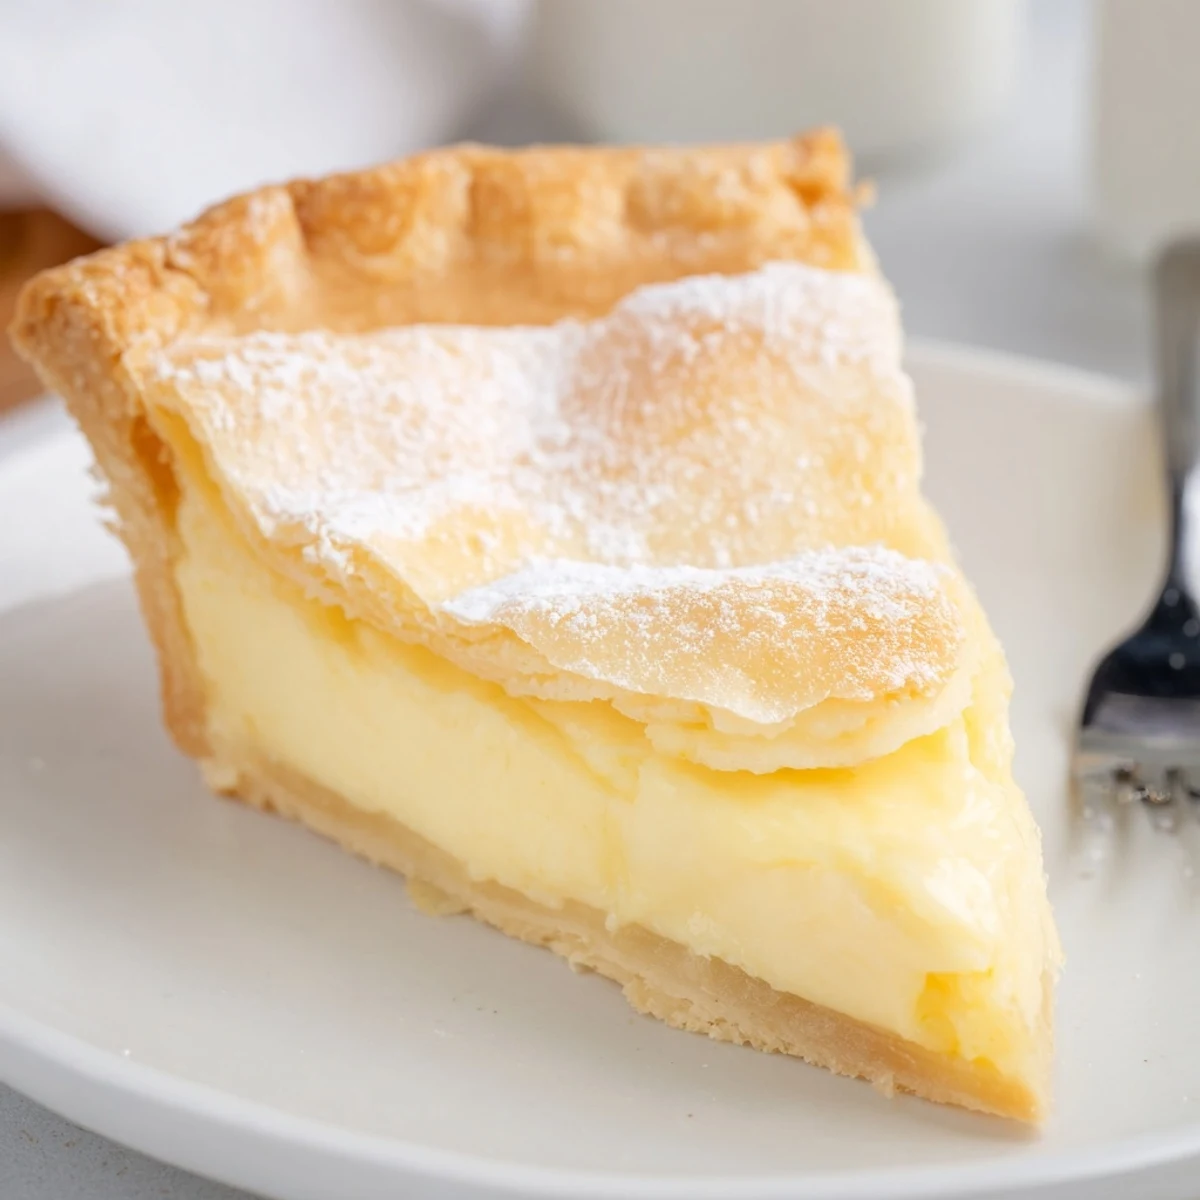
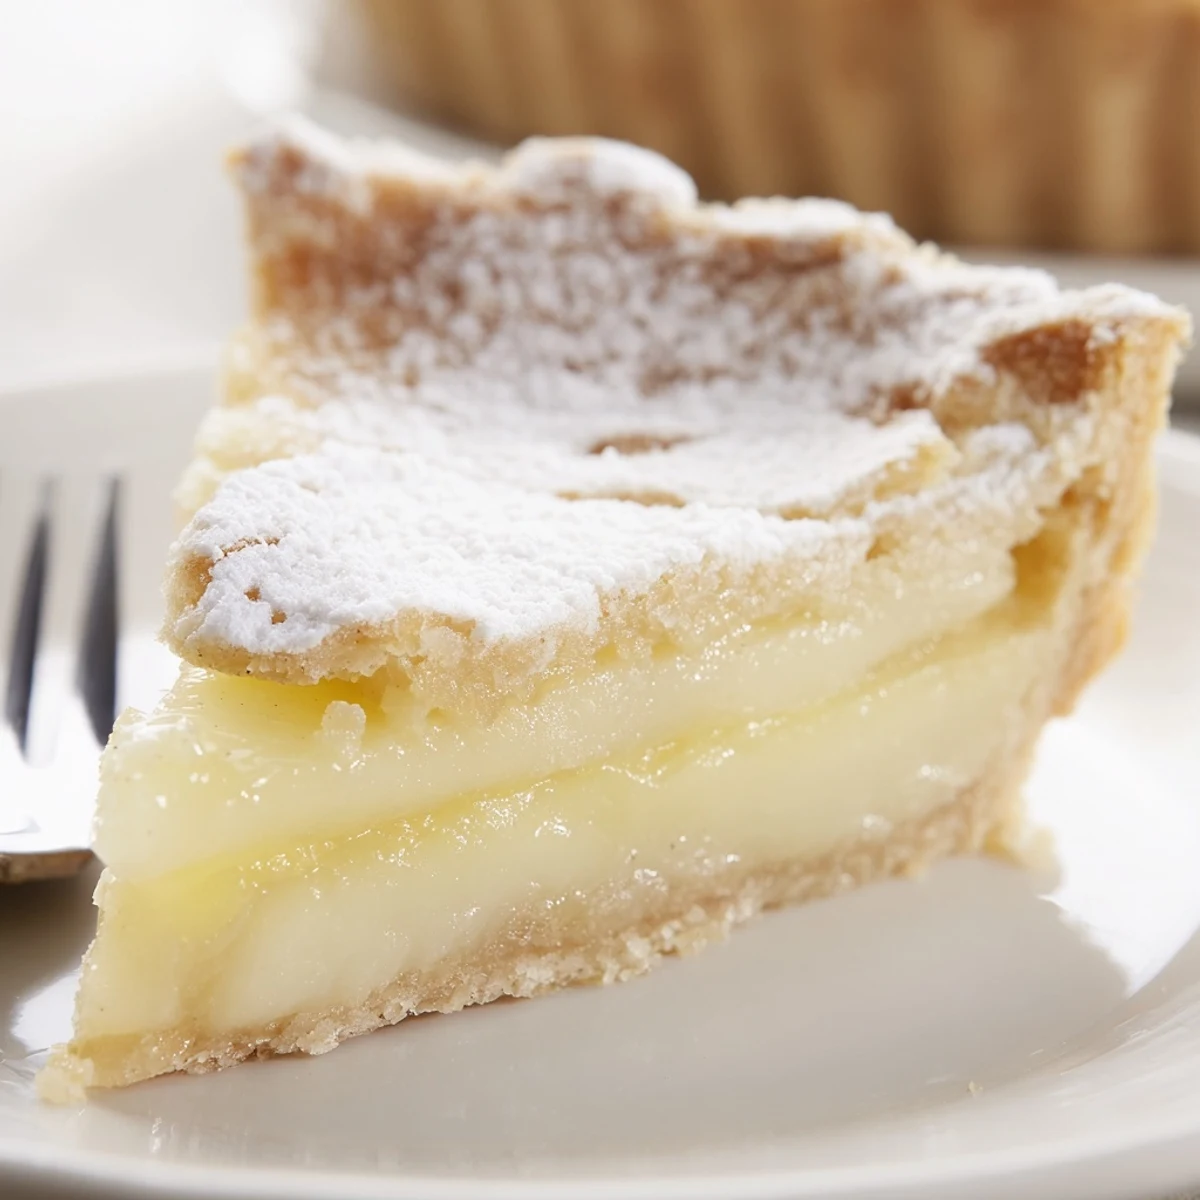
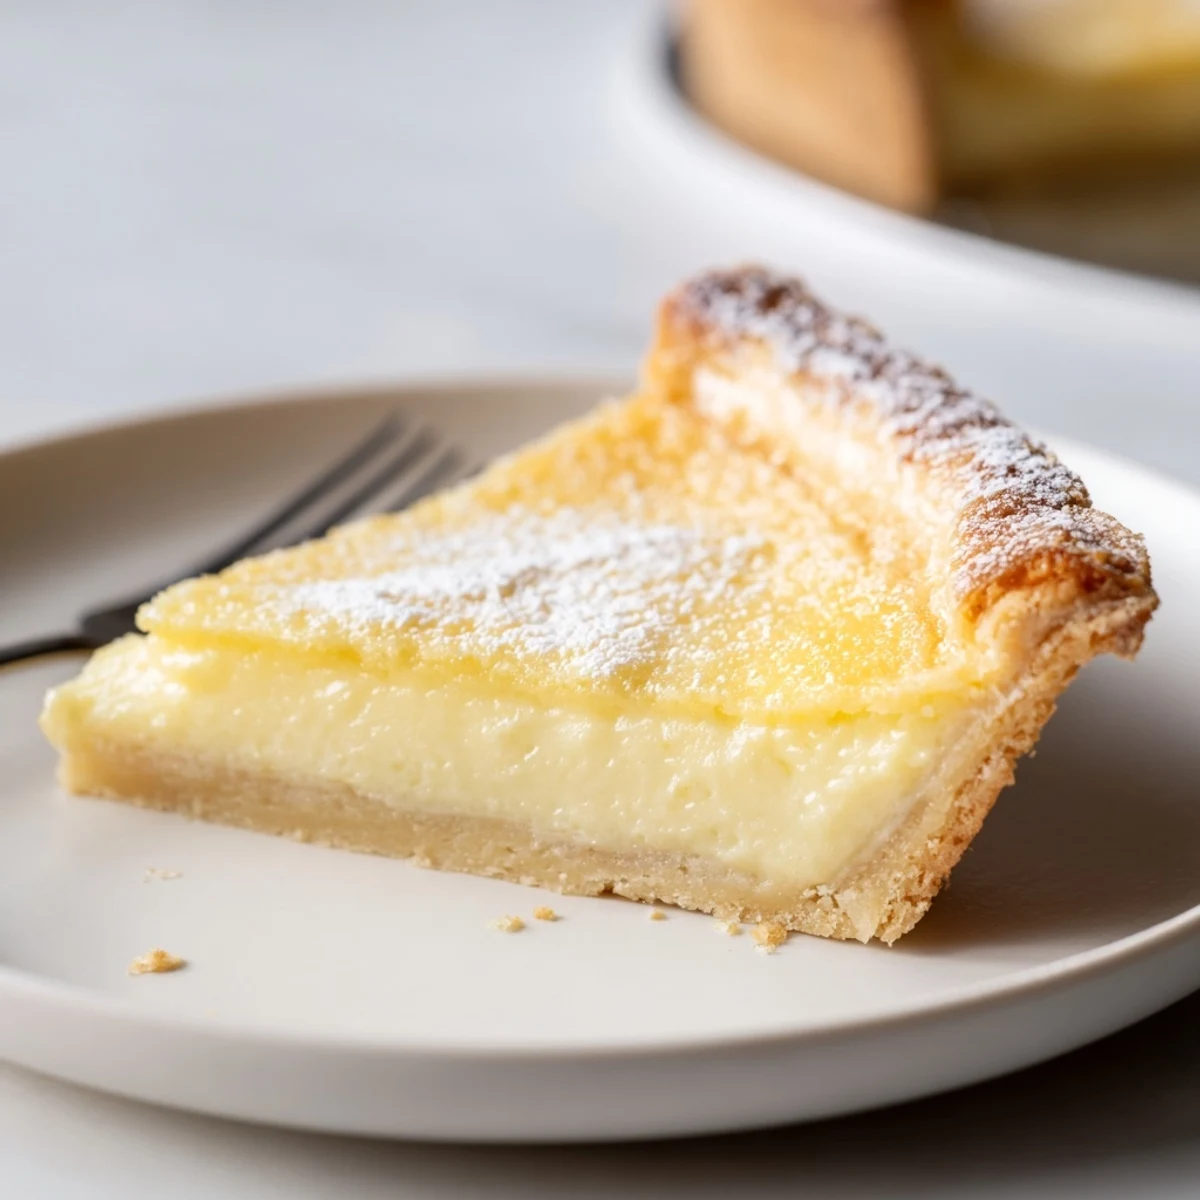
 A nostalgic dessert from the Great Depression era, water pie transforms simple pantry staples into a surprisingly creamy, custard-like treat with a delicate vanilla flavor and crisp, sugary crust.
This pie was a special find when I was searching for old-fashioned recipes to connect with family traditions. I was amazed at how the humble ingredients create a comforting, custardy filling with a sweet crust that everyone loved at our Sunday gathering.
What's for Dinner Tonight? 🤔
Stop stressing. Get 10 fast recipes that actually work on busy nights.
Free. No spam. Just easy meals.
Ingredients
- Unbaked 9-inch pie crust: Store-bought or homemade; forms the base of the dessert.
- Water: 1 1/2 cups, creates the filling's smooth texture.
- Unsalted butter: 4 tablespoons, sliced and distributed for richness.
- Granulated sugar: 3/4 cup, adds sweetness.
- All-purpose flour: 3 tablespoons, thickens the filling.
- Vanilla extract: 1 teaspoon, gives delicate flavor.
- Salt: Pinch, brings out flavor balance.
Tired of Takeout? 🥡
Get 10 meals you can make faster than delivery arrives. Seriously.
One email. No spam. Unsubscribe anytime.
Instructions

- Prep Your Oven:
- Preheat oven to 400°F (200°C).
- Prepare Pie Crust:
- Place the unbaked pie crust into a 9-inch pie pan and crimp edges as you like.
- Add Water:
- Pour 1 1/2 cups water directly into the pie crust.
- Mix Dry Ingredients:
- In a bowl, stir together sugar and flour. Sprinkle this mixture evenly over the water in the crust.
- Add Vanilla & Salt:
- Drizzle vanilla extract over top and add a pinch of salt.
- Finish with Butter:
- Slice butter into thin pats and place evenly around filling surface.
- Bake:
- Place pie on oven's lower rack. Bake for 30 minutes at 400°F (200°C).
- Adjust & Finish Baking:
- Reduce oven to 375°F (190°C) and bake another 20 minutes, until golden and filling has a slight jiggle.
- Cool Completely:
- Let pie cool to room temperature, then refrigerate for 2 hours for best slicing.
 Pin It
 This recipe always brings back memories of my grandmother sharing stories about creative desserts during hard times. Now, my kids ask for water pie at every family get-together because it's both fun and delicious.
Still Scrolling? You'll Love This 👇
Our best 20-minute dinners in one free pack — tried and tested by thousands.
Trusted by 10,000+ home cooks.
Allergen Information
Contains wheat (gluten) and dairy (butter). If using store-bought crust, check for egg, dairy, or soy if allergies are present.
Required Tools
You'll need a 9-inch pie pan, mixing bowl, measuring cups and spoons, and oven.
Nutritional Information
Per serving: 210 calories, 8 g total fat, 33 g carbohydrates, 2 g protein.
 Pin It
For a truly nostalgic treat, refrigerate overnight for best results and slice with a sharp knife. Even modern palates love the gentle sweetness and creamy filling.
Recipe Questions & Answers
- → How do I prevent a soggy crust?
Use a sturdy, well-chilled crust and bake on the lower oven rack for even browning and crispness.
- → What texture should the filling have?
Expect a creamy, custard-like filling with a slight jiggle in the center when fully baked and cooled.
- → Are substitutions possible for dairy?
Plant-based butter and vegan pie crust work well for a dairy-free, vegan adaptation without losing texture.
- → Can spices be added to enhance flavor?
Sprinkle in cinnamon or nutmeg before baking for a warm, subtle spice in each slice.
- → Is cooling and refrigeration necessary?
Cooling is essential for the filling to set fully. Refrigerate at least 2 hours for clean slices and best taste.
- → What can I serve with this dessert?
Pairing with fresh berries or a dollop of whipped cream adds brightness and modern flair to each serving.
